This
site is dedicated to those who are fond of 114 and who for various
reasons haven't
changed it for a definitive telescope yet (which
is newton 250/1200 in my case).
All
of us have realized about its potential thanks to the webcam
advent:
there is an abyss between the first photos on film I have
made and
the recent frames stacked with a vesta675k. The very thought that we
are able to
discover new extrasolar planets with it makes me thrill. I'm
also convinced, after the results I've achieved, that the
seeing
is the real author of the amazing photos which can be
taken with
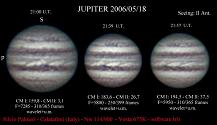
any instrument. With a good seeing we achieve, or maybe exceed, the
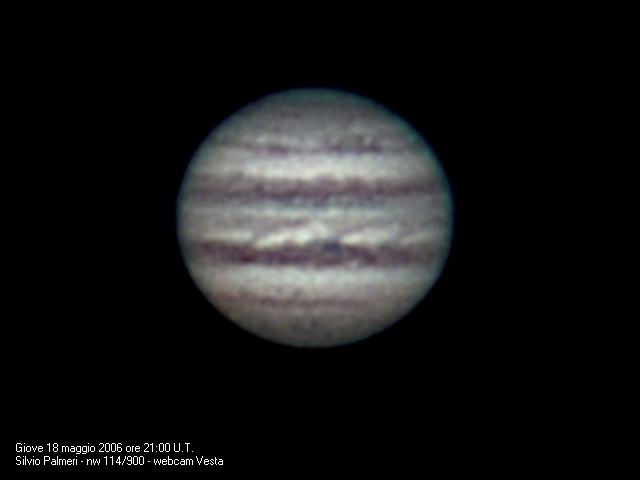
theoretical resolution power of the optics. For example the w.o.s. in
the
jupiter's photo below measured only a second arc degree.
But
no more chat and let's come to the facts:
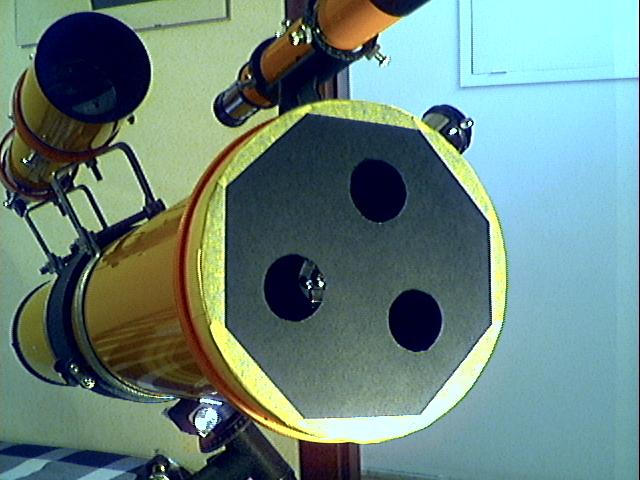
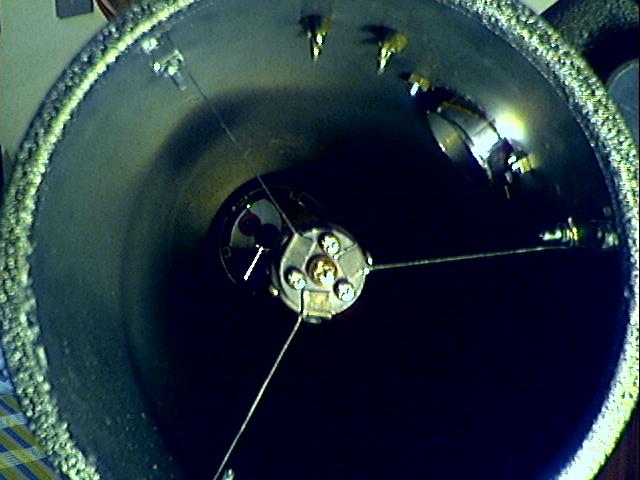
1 - my instruments are:
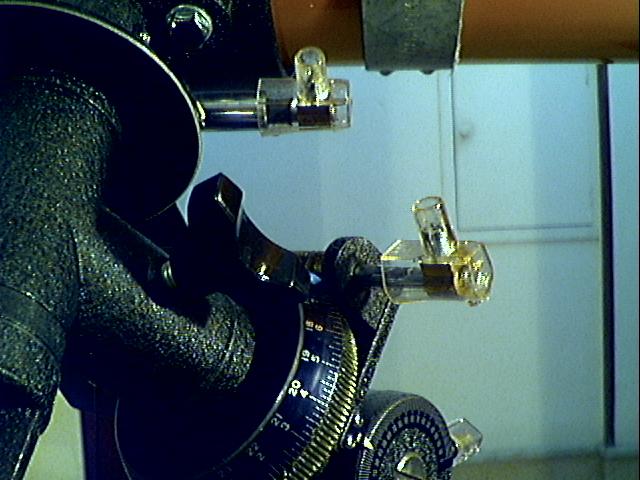
a) a newton 114/900 telescope model Vega by Konus,
with r.a. motor drive;
b) a Philips Vesta pro 675K webcam (640x480 ccd sensor);
c) a Logitech Quickcam Web (352x288 cmos
sensor);
d) a refractor 60/415 telescope model Perseo by Konus in parallel with
114;
e) various series eyepieces: h=6 h=8 and h=20 mm, the last used to
stack avi file;
f) a 2x barlow lens, used with the refractor;
g) an extender tube to change magnification handmade (by myself);
h) a reflex camera model FX super 2000 by
Yashica;
i) a 12 x 60 binoculars by Breaker;
l) a pc 900 Mhz and software Iris and nothing else.
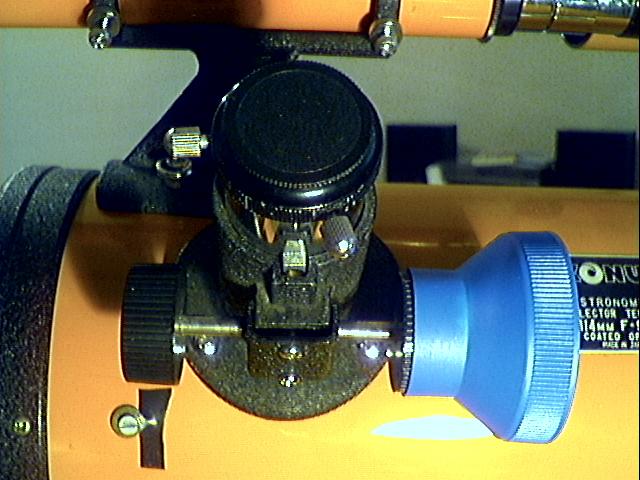
2 - The
optical configuration for the planetary captures is
obtained by
the projection of a 20 mm
eyepiece, with 10 cm polyethylene extender tube and a vesta webcam
without its objective. In this way we get a focal lenght of about 6000
mm. This can be considered the maximum limit beyond which is not
possible to obtain more
details. As a matter of fact, I haven't found any differences between
the images obtained with 5000 or 7000 mm
focal lenght. On the other hand, going under 5000 mm means
that we
are not making the most of the potential of the 114. I believe
that this is the common mistake made by many
unexperienced astronomers, even if they have instrument of 200
mm
class, or
better, and they don't extend the focal lengh enough.
3 - For Jupiter a 30 sec. avi file with a good seeing is enough to get
this photo
4 - The
process with Iris software is really simple and after the "avi
convertion" and the alignment of the frames with the "align and
stack 2" command, the only filter I use are "wavelet"
and
"unsharp masking". I recommend: don't force.
5 - Enjoy the result, some 200 mm can't still achieve these shots.
6 - Small photografic gallery
 |
|
 |
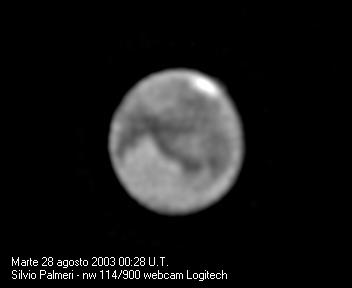
| mars 28
August 2003 |
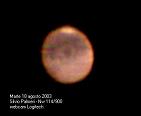
mars 18
August 2003 |
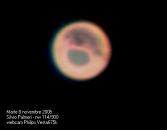
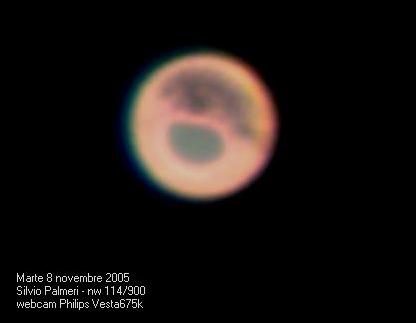
mars 8
November 2005
(very bad seeing and desert storm in Solis
Lacus) |
|
 |
|
| Jupiter
18 May 2005 |
Jupiter
in rotation |
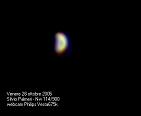
Venus
28 October 2005 |
|
 |
 |
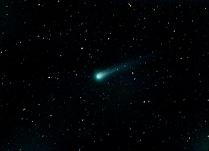
| Hyakutake
24 March 1996 |
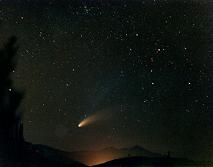
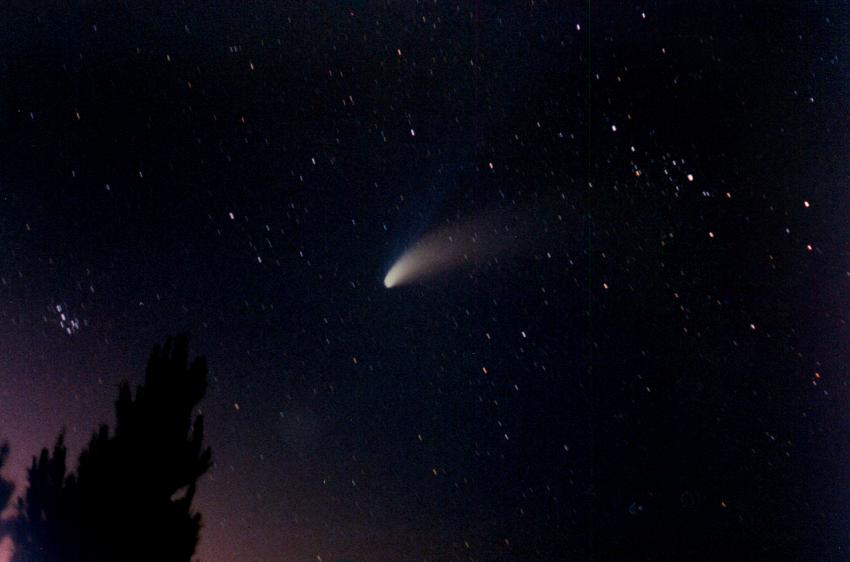
Hale
Bopp April 1997 |
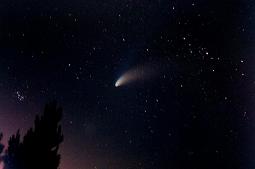
Hale
Bopp 14 April 1997 |
Note:
the comets were taken with the Yashica camera, without
guiding, with 50 mm series focal lens,
acquired by scanner and processed with Iris.


